La photographie est l’une des belles définitions d’un art qui exprime l’image représentée. Les trois composantes liées à la photographie sont l’artiste, le médium et l’œuvre d’art. Les trois composantes sont liées les unes aux autres.
Beaucoup de gens trouvaient que la photographie n’était qu’un moyen de reproduction et c’est pour cette raison que la photographie a vraiment lutté pendant un siècle et demi.
La photographie est définitivement une œuvre d’art, il faut beaucoup de talent et d’imagination pour la représenter et l’exprimer à travers un simple portrait. C’est un art de reconnaître les effets les plus infimes pour atteindre le cœur de l’image. Il ne s’agit pas seulement de cliquer sur les photos, il s’agit de leur donner un fond, une image, de la vivacité et un support. Un artiste photographe fait vivre les images une fois qu’elles ont été prises. C’est un bel art de reconnaître le plus grand comportement de la nature, d’une personne ou d’une situation.
De nombreux géants de la photographie artistique comme Henri Cartier Bresson, Walker Evans et Dorothea Lange ont fait leurs preuves dans le domaine de la photographie. Il existe aujourd’hui de nombreux artistes photographes qui font connaître leur travail au monde entier à travers leur art photographique en le présentant sur le site.
La photographie en tant qu’art a pris sa place et sa renommée sur le marché aujourd’hui. Il y a beaucoup de gens dans le monde qui sont fous de photographie. Il y a des gens qui veulent choisir ces professions à cause de leurs interventions artistiques. La photographie n’a pas diminué, elle a plutôt trouvé un moyen de gagner le cœur de nombreuses personnes.
La photographie étant un art est aussi un défi ; c’est dépeindre le vrai soi d’une chose non-vivante. Par exemple, il donne vie à l’image qui peut être si morte. Quand on pense à l’image simple de la nature, la photographie peut donner vie à cette image simple de la nature en y ajoutant des couleurs et des définitions pour la rendre vivante aux yeux des spectateurs.
La photographie est la meilleure chose, c’est l’imagination de la tête et c’est l’imagination des pensées. On peut facilement s’imprégner de la ligne de la photographie. Il y a beaucoup de photographes qui passent des heures tout au long de la journée, à définir les clics simples et à les rendre vivants.
Ajouter des couleurs, ajouter un sens, ajouter une vie à quelque chose qui n’est pas vivant est un art. Les photographies de divers instincts naturels font appel à notre imagination, la photographie étant un art défini. Il arrive souvent que les photographies représentent beaucoup de choses à propos d’une personne, dont cette personne n’est pas consciente.
La photographie en tant qu’art vient d’être reconnue ces dernières années, au fil des ans, les gens ont accepté les secrets de la photographie et ce qu’elle peut représenter. La photographie représente le connu à partir de l’inconnu ; c’est un art d’aller au fond de la compréhension de la vitalité et de la nature de toute image.
La photographie est aussi un bel art de l’imagination, c’est un art du rêve et c’est un art de faire du rêve une réalité. La séquence majeure de la photographie peut être vue à travers divers exemples donnés par les photographes du passé.
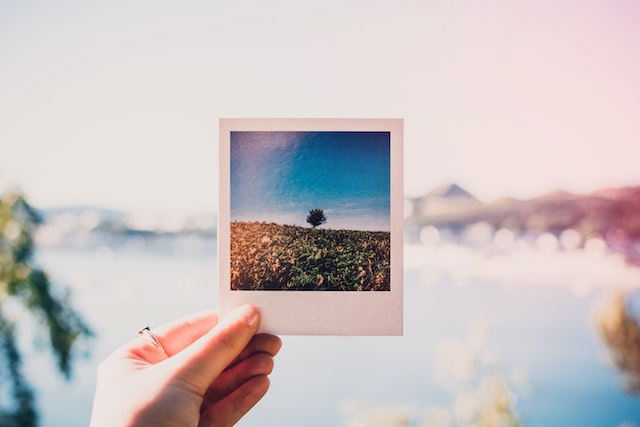
Les secrets pour les plus belles photos
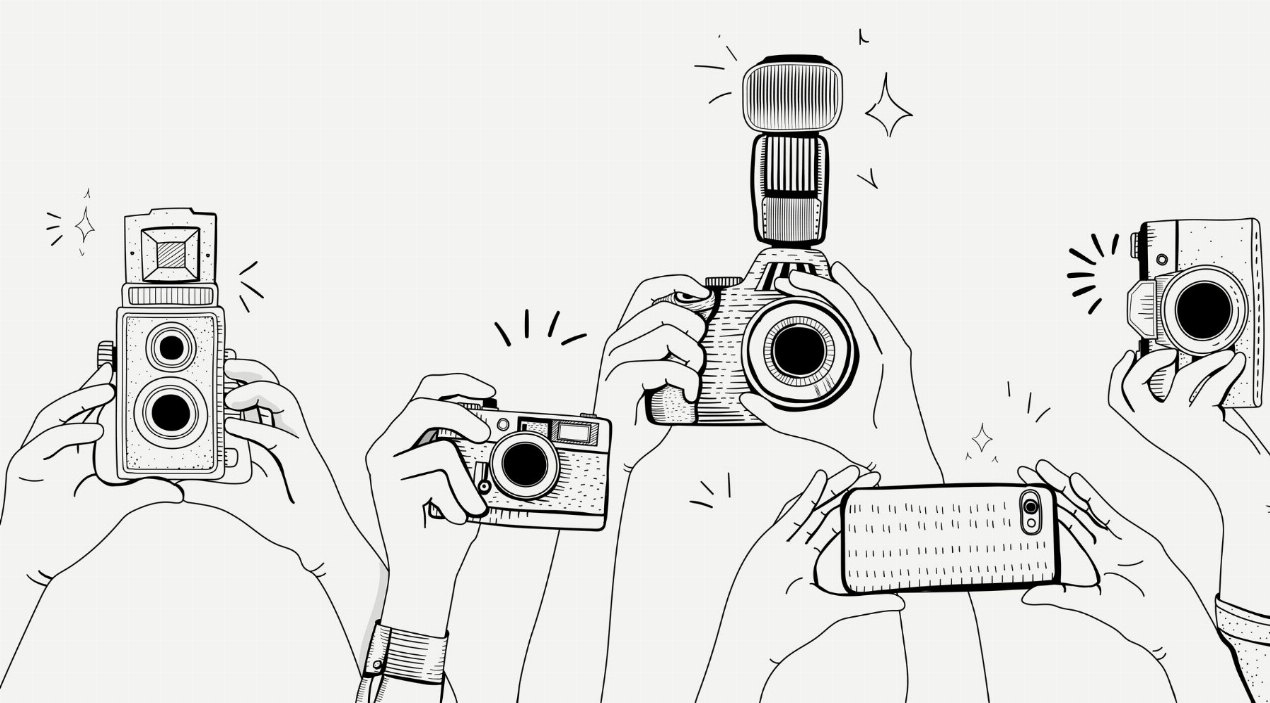
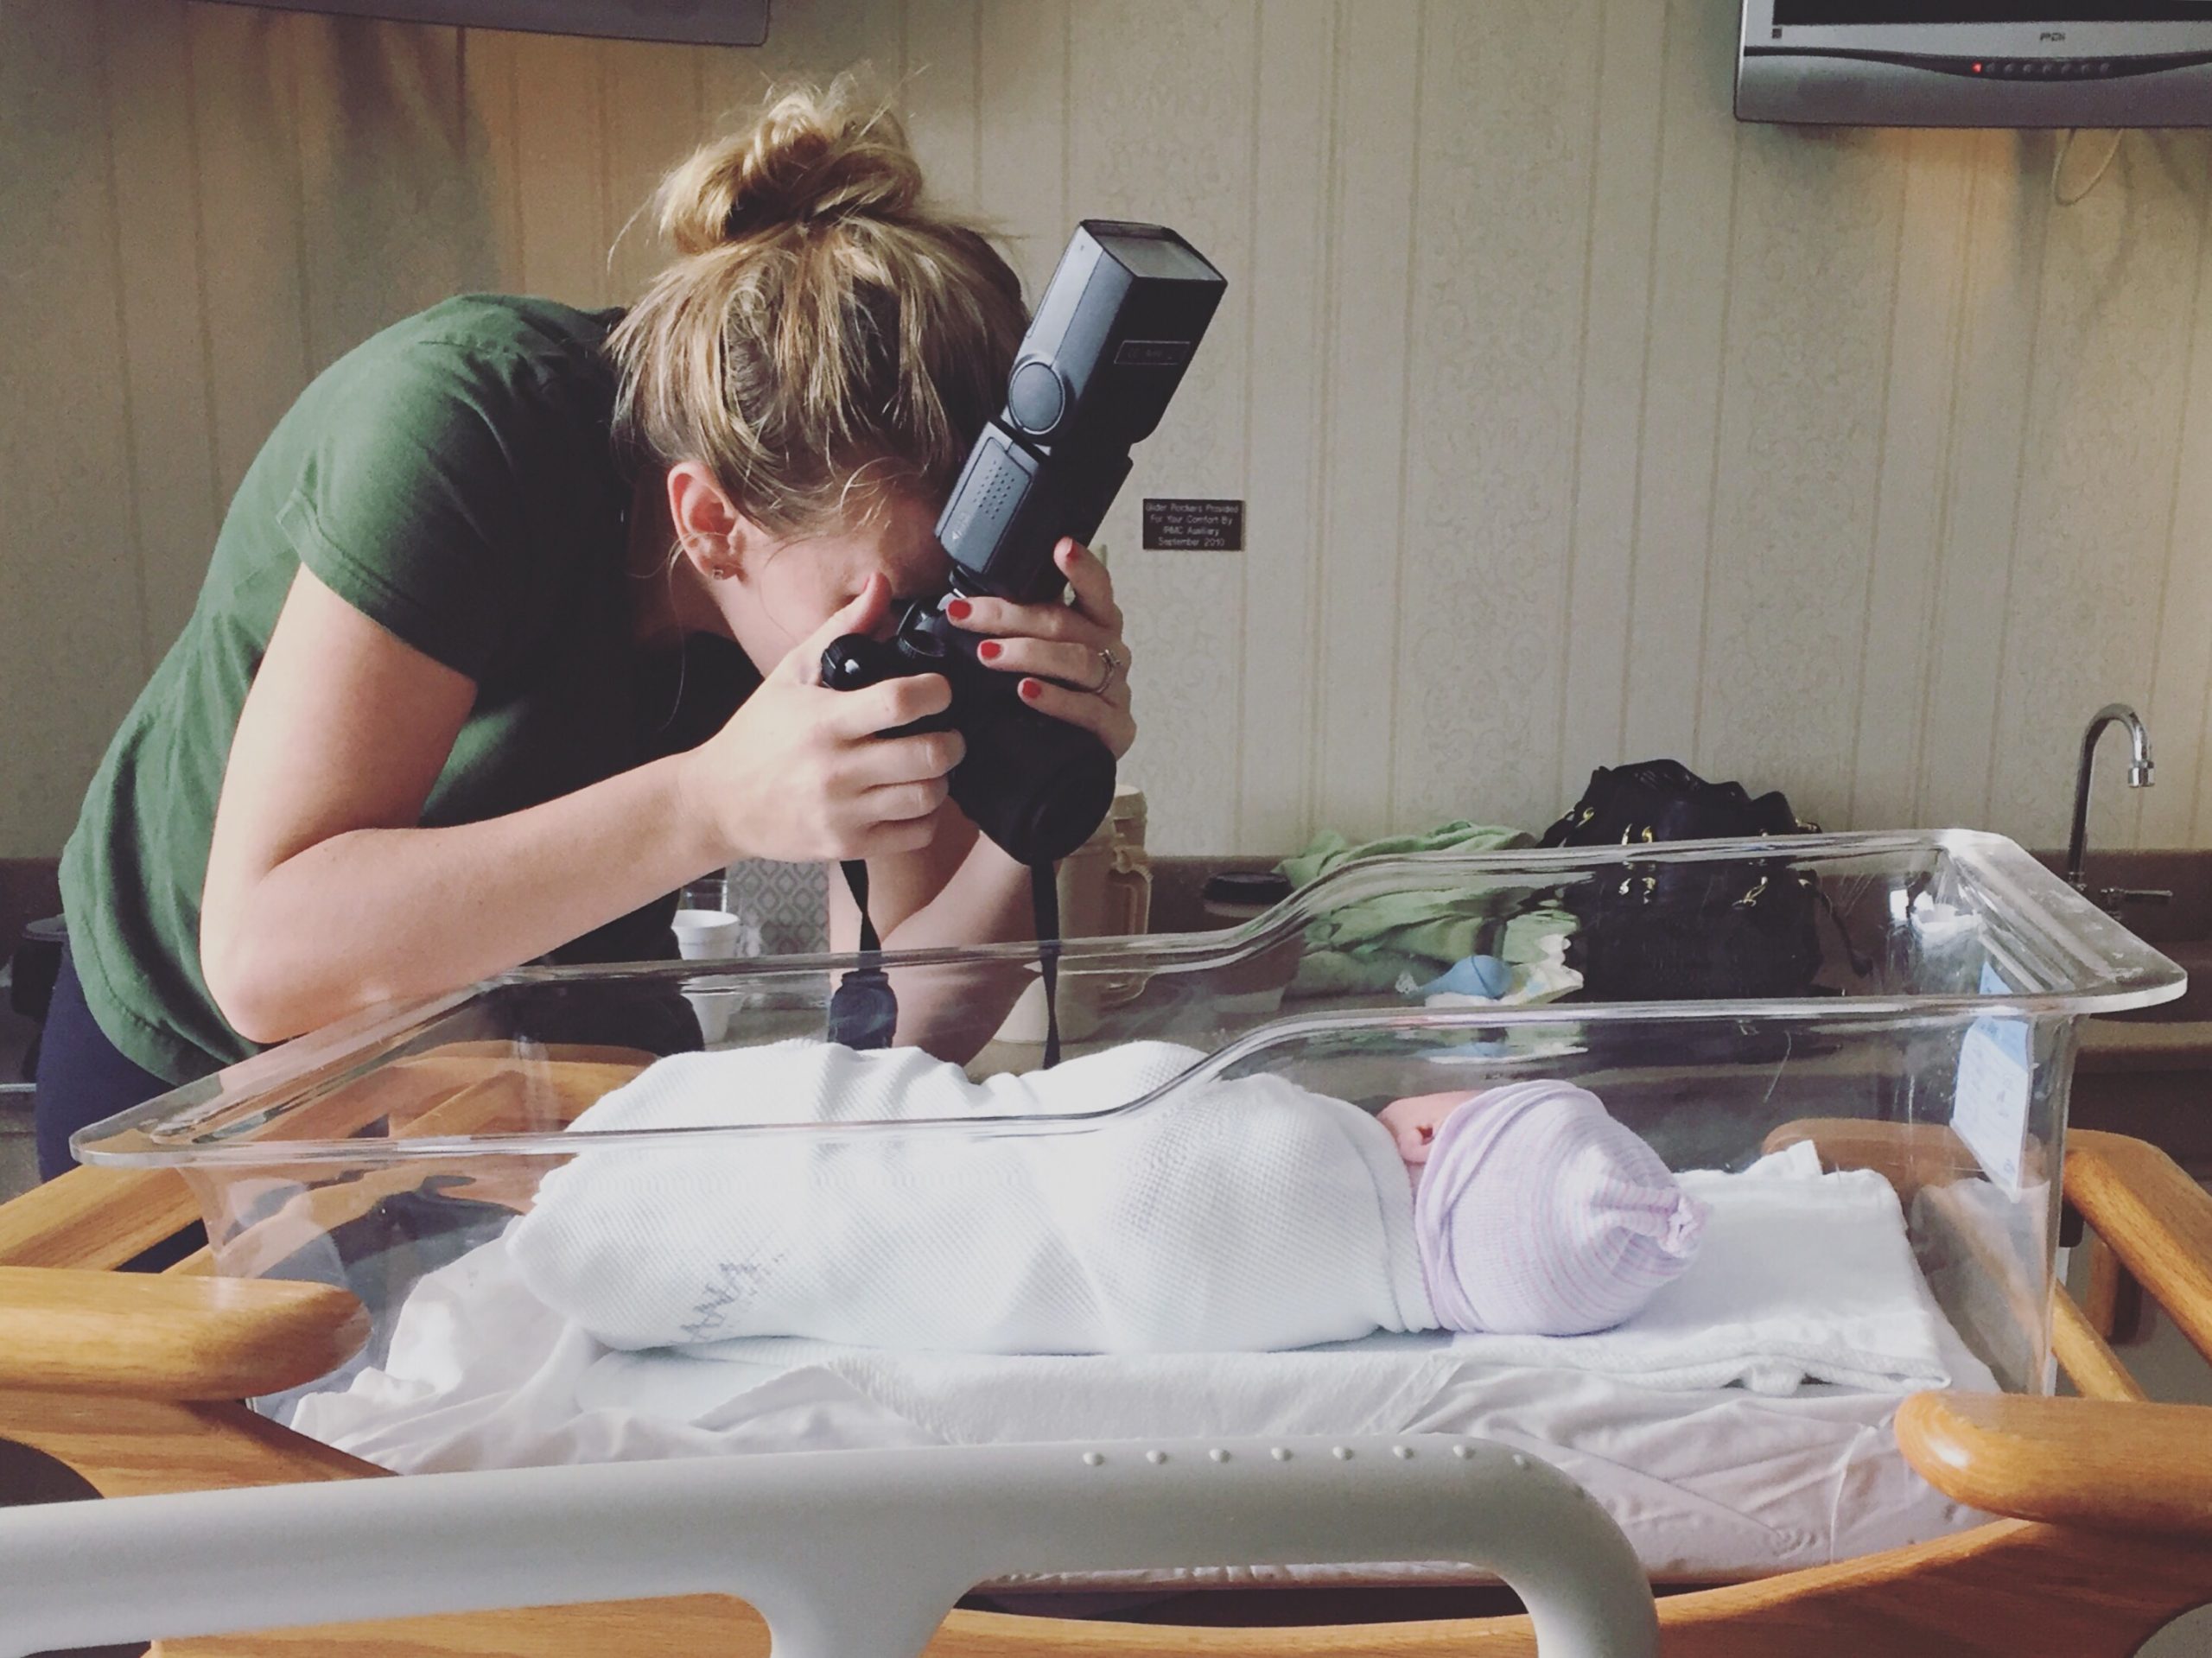
La photographie est plus présente que jamais dans nos vies. Les appareils numériques dans un premier temps et les smartphones ensuite ont populariser les photos. La communication par l’image est importante soit comme hobby pour les particuliers, soit ceux qui veulent en faire un business comme les influenceurs soit pour les entreprises.